Monday, September 19, 2011

Montage Madness!

Wow!  It has been 2 months since I've written a post!  YIKES!
Not to worry faithful readers...well, reader, anyway I'm sure (!), I will place blogging back on my priority list.

To catch up a little, I have made some montages.  This will allow for more pictures in a flash-like reading fashion.  So here it is...rapid fire:

1. Birthday Mantle Montage! (click on the images to enlarge):
From left to right: 
Birthday Roses (SO PRETTY) with
Birthday Earrings hanging on the vase (see right)
Birthday Print - Jellyfish in a JAR just like MY JARS! What an awesome gift :)
Birthday Blue Headband (from Montreal)
Birthday Lace Cowgirl Hat!

2. Black Krim Tomato Montage!
This is the neatest tomato!  It is ugly, scarred, and greenish brownish red on the outside and a dark dark crimson on the inside!  Great taste (not as tangy as a yellow heirloom, but still very delish).  Great for sandwees!!

3. Tomato Montage Extraordinaire!
We were SO lucky to have such beautiful amazing tomatoes this year!  We had too many to photograph, but here are a few.  The top right tomato was a gorgeous yellow to red ombre' on the inside:

4. Ombre' Tomato Montage!
 
So...what do do with all these tomatoes?

5. Tomato Dinners Montage!
Tomatoes with motz & basil...sprinkled with balsamic!  Perfect for a Summer evening!  AND...some stuffed tomatoes!  You can see the process from ingredients, to scooping (love this pic!) to uncooked to cooked! = Melty, tomatoey goodness!

But there are more good things from the garden than tomotoes...

6. Kale NON-Montage...er...Montage!
How kool is kale?  These big leafy greens cooked down to some tummy tickling collards.  Sorry folks, no pics :(  But look at the size of them!  Fun to grow :)

What else, you ask...

7. Peppers into a Stuffed Peppers Dinner Montage!
Yep! These were grown in our garden.  We have a whole bunch out there now we'll need to pick shortly (along with another purple eggplant).  I see chili in my near future! 

Isn't the peppers tops pic cute!  I love putting the tops back on to cook them so they stay all moist and tender inside.  Gauw-jous!

Well more goodies are yet to come, but I'll leave you with a secret place to chill out (and/or sleep) if you are a cat in our house.  Apparently, there are good vibes here:

8. Cat Hide-Away Montage!

 Montage Montage Montage.

Sunday, July 24, 2011

Moss Chandelier

I decided to try to make a moss chandelier!
Here is the space I picked out - shady section of the wall under the tree.
So, I drew out the shape on the wall in purple sidewalk chalk...
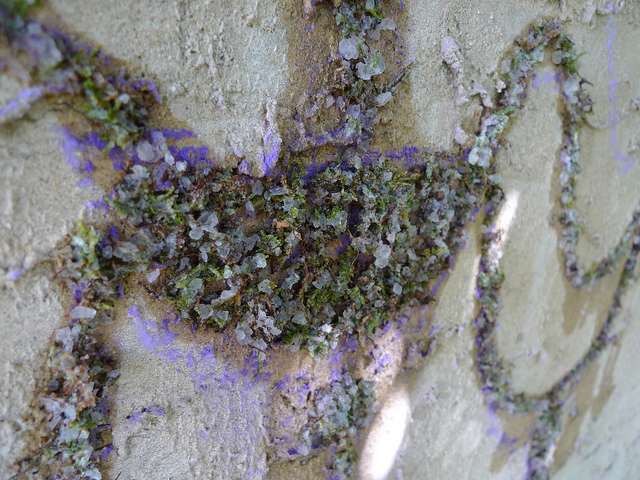
Then mixed up some Moss Milkshake: 
Here it is dry in the bucket: 
Mixed with water, beer, and plain yogurt below.  I used yogurt to make it a little thicker so it would stick to the wall.  Mmmmmm...yummy!
Next, I went about "painting" in the chandelier on the wall:
Here is a close up of the mixture:
And one of the candlesticks:
Here is the whole chandelier painted and still wet:
View 2:
Here is a look at the chandelier the next day all dry:
How pretty it looks!
The moss chandelier did not take as well as I had hoped.  I think the heat of the summer coupled with no soil made it difficult for the moss to live.  I will try again in the Fall when it is cooler.  I may also make a mesh armature in the shape of the chandelier that I can fill with soil and attach to the wall.  This may help the moss to grow and thrive.

Monday, July 18, 2011

More garden...more delicious.

Garden dinners are delicious!  I have not been taking pictures of every garden dinner (that would be a lot of pictures), but here are some pictures from dinners (or dinners to be) of deliciousness past (or...er...to be)...

Here is a bean just up from the ground!  They are now ready to eat.  This is a plant that has yielded purple beans!  Super cool how the bean seed opens like a capsule.
Here were the early spinach squares.  Our first salad was before the end of May!

Here is beautiful salad with some swiss chard and spinach.  Now, of course, it is too hot for spinach, so this is from a while ago, but it was delicious!
  
And how I LOVE pak choy!  Look at those beauties
We cut the stems from the leaves, chopped up some onions... 
Fried up some bacon, removed (left in the grease), fried the onions with the stems...
Added the leaves and bacon, some seasoning... 
 and placed over rice - delish!

So far we've had  spinach, swiss chard, lettuce, peas, beats (salad with the greens and salad with the roots), our first cuke (!), beans are ready...we've had to fight so many pests (!) but I hope for a great 2nd half!

Wednesday, July 13, 2011

Garden!

LOVE the Summer, LOVE the garden!
Here is a picture from...maybe early June.  The garden has grown SO much now that you cannot see the trellis at all!  There are tomatoes  planted on the house side of the garden (see next picture) and they have grown up over the top of the trellis!
Plot #1 (closest to the house)
To the right are the tomatoes (about a month ago).
Beets are on the left, cukes in the back (which have also grown up the trellis now).
Plot #2 (to the back)
Peas (!) on the teepee!
The squash (the corner) has turned into a Little Shop of Horrors - Audrey Jr.  This picture is also from about a month ago.  It is now GIGANTIC.
 From the tree in the back, we played with plants in birdcages (inspired by our Thailand trip).
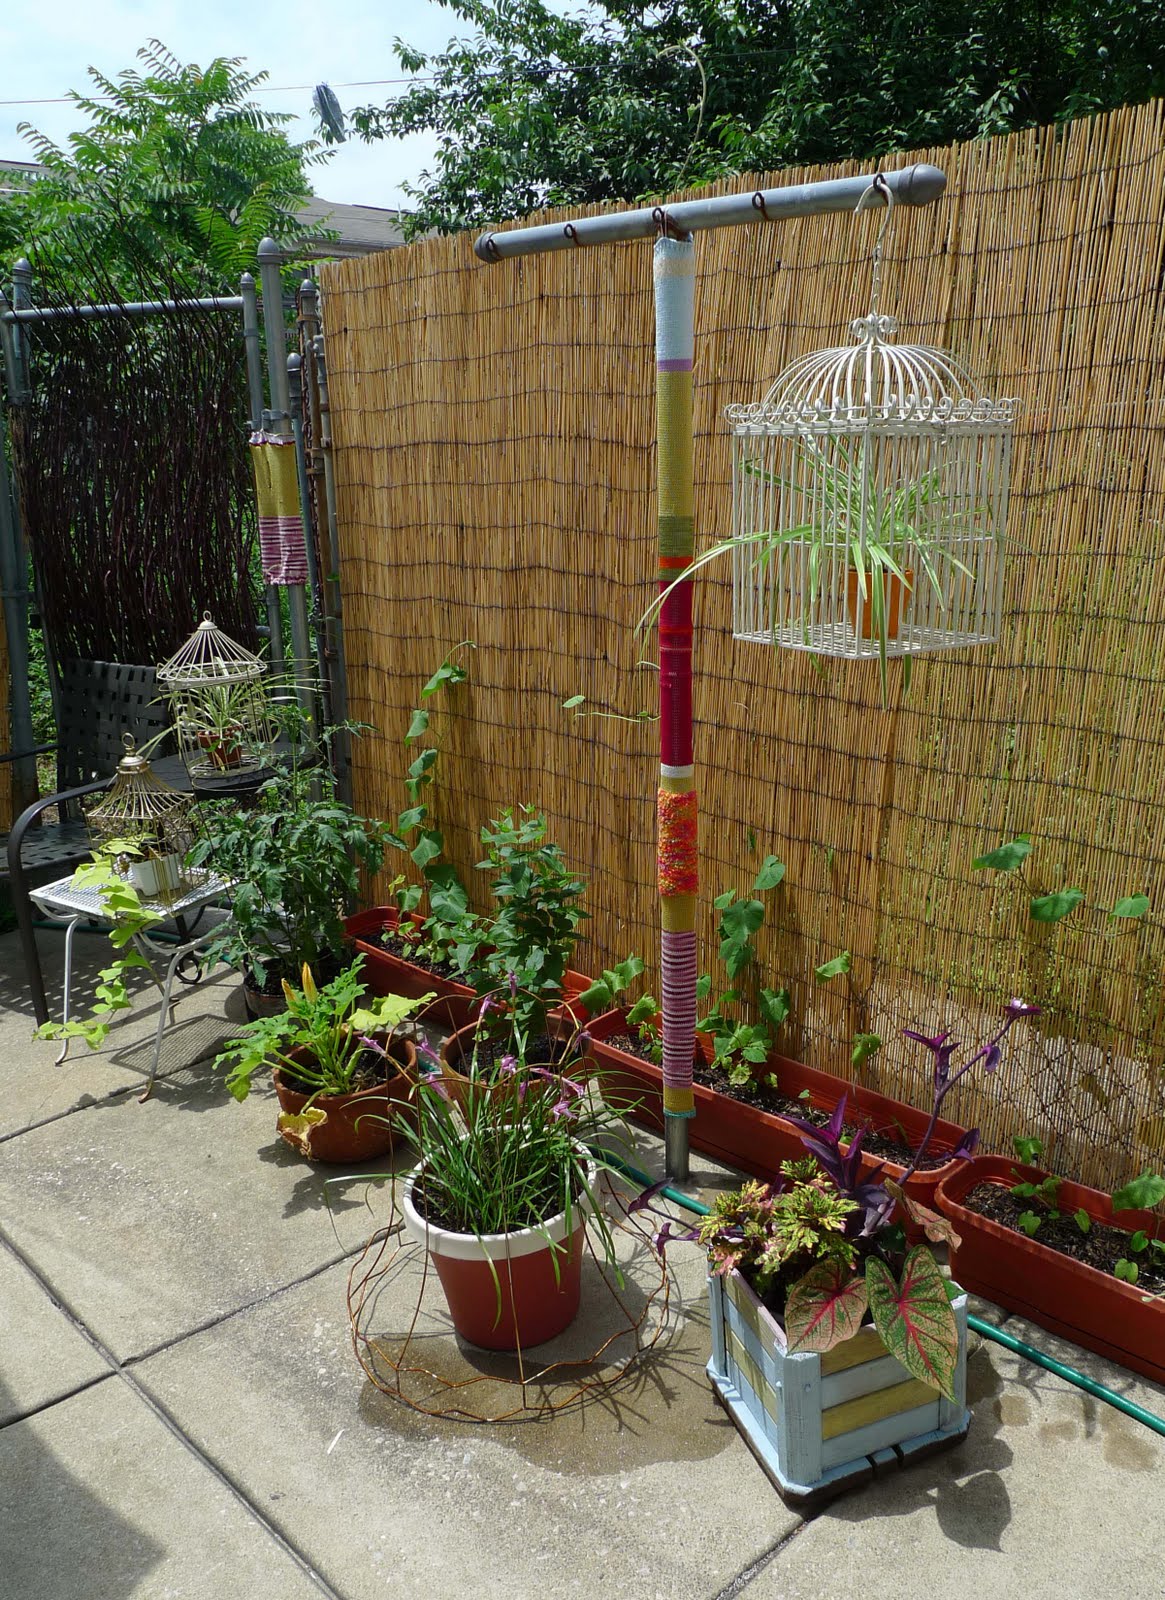
Only one still hangs from the tree (due to light and difficultly in watering), but all are still in the backyard (5 total).  Here is a shot on the patio:
Also, I picked up this old lamp shade frame!  How pretty are the rain lillies!
The planter to the right I painted to have a rustic feel.  And what pretty pretty foliage - begonias and a Tradescantia.
 Full patio shot!  So pretty :)
S (he is such a smarty!) has also set up an auto-watering system for the garden plots!  OMG it is SO SO AWESOME!  Saves me about 40 minutes in the morning!!

Step 1:  attach a hose splitter to the spicket.  Use one junction for your all-purpose hose and one junction for your watering system.
2: Attach a timer to the watering-system side.  Set timer :)
3: Attach hose & run to/through the garden
4: use soaker hoses for a long even drip watering.  In the image below I have outlined the soaker hoses in pink for easy visability:
 Here is how the hose was cut and attached at different places to make for 6 soaker hose pieces (2 gardens):
The ends of each of the hose parts were then caped: 
You can also make a soaker hose out of an old one by punching small holes throughout.
Yay for gardens and Summer!

Monday, July 4, 2011

Happy 4th!

I love the day off and that it is followed by a 4 day work week!

I fixed a chair E decoupaged for me.  The caning was all ripped making the chair unusable.  I had seen the idea online HERE which has amazing ingenious repairs!

The step is simple: sew sew sew!:
Best part? I get to keep a chair I love <3. Close up:

One of the many things I love about Summer: Ice teas!  S makes great teas & we have 2 infusion pitchers.  The red below has tea infused with raspberries, the orange with lemon and fresh mint leaves:
July 4th also means barbeque!  Here's an idea I heard on NPR - grill eggs!
1. Half & clean a large pepper(s) (any color).  They can be halved either direction:  
 Crack an egg into the pepper shell:
 Place on the grill until you see the egg set.  The pepper will be deliciously blackened!:
 Enjoy with your favorite hot sauce, ketchup, etc.  I recommend fresh ground pepper:

Wednesday, June 29, 2011

Flowers, flowers, flowers...

So much has happened since I've last put up a post!  I'll break it down to a few different posts and hopefully actually post everything :)

So, I made mini flags for the mantle to match those that are out in the yard!  They are super cute!  So, here's the Summer mantle.  It's all about color and I move things around/add new things every few days.
 The plates on the left I bought 3 for a $1 at a flea market! They are now under plants at work.
 The greens I just love!  I even love them once they dried out (below):
 I have also been experimenting with drying our hydrangeas!  Above is the finished bunch on the mantle.
Here is the gorgeous bush out back:
 I have cut about 30 blooms off of the hydrangea bush and it is still magnificent!
Here are a 2 beauties on the kitchen table.  I have been pressing flowers in these books, but I love them as a corner-piece on the table as well!

So, drying flowers...
Cut and place flowers in an airtight container with silica already on the bottom:
 Carefully cover with silica...
 Cover the container...24 - 48 hours... 
 Wah-lah!  I find that 48 hours is way too long.  The flowers are super brittle.  24 hours is better, but I am still working out the exact timing...
 Here was the bunch of hydrangeas before drying *I wired them all together before drying them:
 And the bunch was pretty big, so I dried them in a plastic bag:
Worked okay, but a tupperware works better b/c the flowers do not get smooshed.
Finished product:
Looks great on the mantle!